So having always loved these

and after seeing how Jen made hers

I decided to make one and use it as an interim chandelier in the dining room until
something more like this is in the budget..


There are a few different tutorials kicking around for this one,
but I ended up doing something a bit different.
Having never wired anything before, I wanted to be sure that this was not going to be a fire hazard!
(and thought that using a pre-made pendant light might just save a whole lot of time)
so I bought one of these..

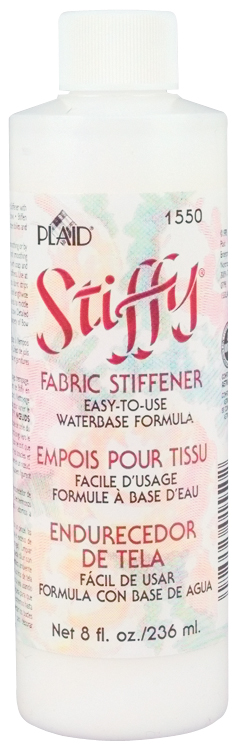
two bottles of fabric stiffener
and a heaps of white cotton yarn.

We had an exercise ball kicking around (I am not co-ordinated enough for one of these - truly :)

So it was off to the races.
TIP: Cover your work area in plastic before you start, and secure that plastic to the surface.
You will be glad you did. This is messy. SUPER messy.


removed the top piece from the shade..
this will give the finished product extra strength and keep the bulb in place.

Marked a circle for the hole you need to leave for placing the electrical and bulbs inside later.
Keep it fairly high, and it won't be noticable.

This is where the plan changed a bit.
I was about to take a picture of the yarn soaking in a tub full of stiffy,
but I stood there staring at all that white, and knew I really wanted something more natural and textural.
So.
Out of the cupboard came the twine!
Now I had to wrap the metal frame with twine ( to disguise it) before I could begin shaping the ball.

I soaked the twine thoroughly, wrapped it around the ball once,
and tied it to the frame - leaving a few extra inches for hanging during drying.
Then it's just random wrapping until you get the effect you like.
It took me about an hour to get to this stage.

Next, I used a small brush to cover the entire thing with an additional coat of stiffy,
and hung it from a ladder to dry -
the dogs were trying to figure out exactly what was going on in the craft room!
I waited 24 hours, but should have waited longer.
It had hardened further by the time we hung it.
Gently push the ball in all around to loosen the ball from the twine, then deflate gently.
I had to squeeze both my hands inside to cut the ball up before removing -
it was too big to fit through the opening I had left!

Using the pendant light meant simply removing the wire from the top plate and feeding it through, them replacing the top plate and installing.. that whole process took about 10 minutes!

Remember the dining room before?

Here it is with our new light:

The large scale is perfectly dramatic,
and the texture plays really well off the new chairs - still waiting for cushions :)

now the whole space is bathed in the most wonderful patterns, especially at night...

All in all, a fairly simple DIY - although I had my doubts that it would harden sufficiently, it did!
The best tip I can give use is to be really generous with the fabric stiffener.
I'm completely happy with the results- and the price - it was $40.00 in total.
When we do replace this with a chandelier,
it will definitely find it's way into another room of the house.
Hope these projects inspire a few of you -
if they do, please send me some pics of your creations so I can share them on the blog!
til next time..


